The term ‘blooming’ when relating to coffee is more commonly associated with filter coffee. The process of blooming involves applying just a small amount of water to the grounds initially and pausing for a short amount of time (usually around 30 seconds) before continuing with the main brew.
It is less common to allow time for the coffee to bloom when making espresso and, in fact, not all machines are precise enough to allow it. If you’re curious to know how and why both industry experts and home enthusiasts recommend blooming when making espresso, read on!
What are the benefits of blooming coffee?
Fresh coffee contains carbon dioxide as a by-product of roasting. When you bloom coffee directly before brewing, add a small amount of water, enough to coat the grounds, and wait for the carbon dioxide to escape. This is demonstrated in the form of bubbles escaping from the coffee bed.
Blooming coffee allows for greater water-to-coffee- contact. This means that you are extracting more of the flavors, oils and goodness from within the structure of the coffee bean.
This will be noticed in increased aroma, better depth of flavor and a more balanced coffee in the cup.
It is generally thought that this process is not necessary when making espresso as the increased pressure and temperature counteract the effects of carbon dioxide in the coffee grounds. However, in the last few years, studies of espresso profiles have shown that blooming espresso can lead to an increase in extraction by as much as 1.5%. Additionally, coffee professionals report noticeably improved flavor. So, perhaps it’s worth exploring in your own coffee.
How do make a blooming espresso?
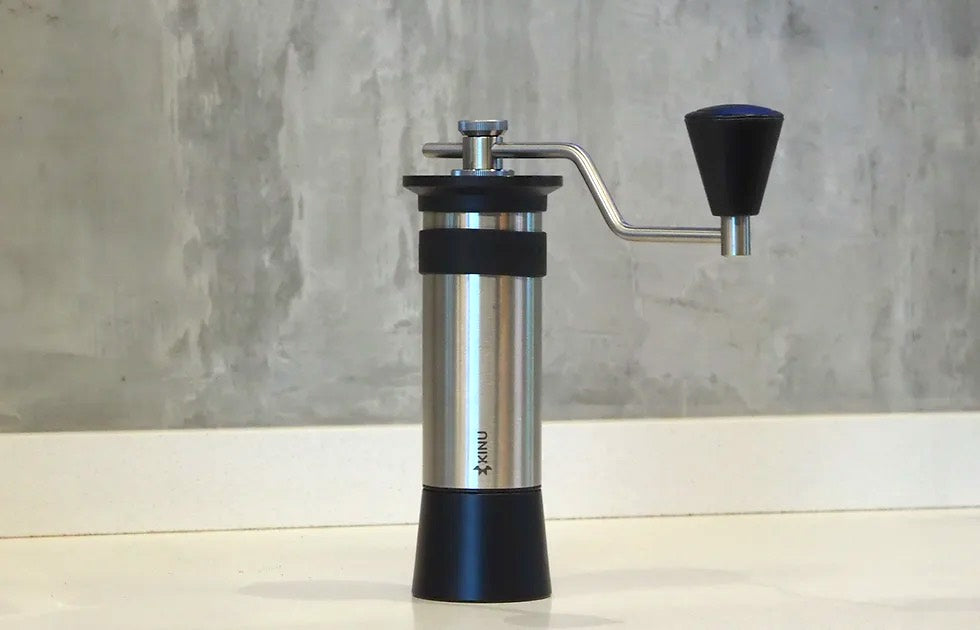
Start by grinding enough coffee for a double espresso and tamping as normal.
Once the porterfilter is locked into the machine, there are 4 phases to making a blooming espresso. Overall, the process should take around 1 minute of extraction time.
Phase 1: Applying the pre-infusion
Hot water is pumped into the porter filter to wet the grounds. This takes place at 2-4 bars of pressure.
Phase 2: Bloom
Allow around 25 second for the coffee to bloom. You may notice a few drips from the porter filter, this is normal. Ideally this takes place at around 3 bars of pressure in order to maintain the integrity of the puck and prevent channelling later on.
Phase 3: Gradual pressure rise
Next the pressure is gradually increased to 9 bars. Hiking up the pressure too quickly at this stage could lead to channelling and poor extraction.
Phase 4: Linear Extraction
Once 9 bars of pressure have been reached, extraction continues at a linear rate. Pay attention to your yield (1:2 or 1:3 ratio is recommended), and stop the water flow as you reach the desired output.
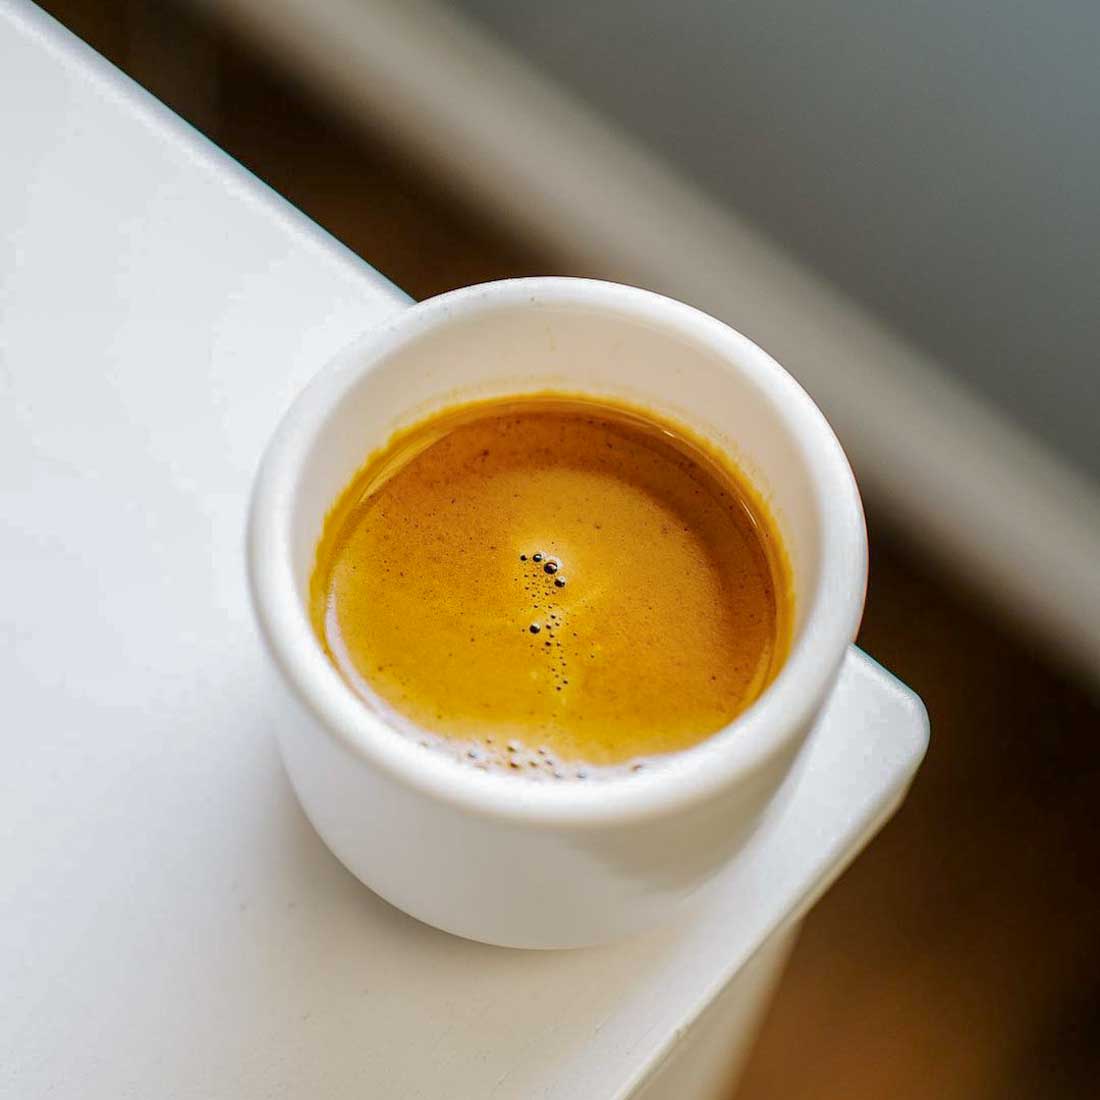
After following this process, you should achieve an espresso which is particularly smooth, with a dense mouthfeel and exaggerated sweetness, compared to traditional espresso extraction.
Points to note
Blooming espresso cannot be achieved on every type of at-home coffee machine. Most will have a discharge valve which automatically dumps the water from the group head during phase 2. This does not allow for a full bloom and increases the likelihood of channelling as the pressure is reduced too far during this crucial phase. Check with your machine manufacturer or use trial and error to discover if blooming espresso will be possible for you.
Looking for other recipes? Read our article about coffee drinks explained.







Comments
There are no comments.
Your comment