Ever find yourself at a coffee shop, watching the barista steam milk and thinking, Wow, I wish I could do that! Well, you can! With a couple of simple steps and a little practice, you'll be making barista-quality milk. And who knows, maybe one day you'll be the one making lattes for all your friends. (But let's not get ahead of ourselves.)
In this article, we will go into detail on the technique of milk frothing, the equipment needed, the kinds of milk, as well as tips and tricks you can use to up your latte-making game. So grab your milk pitcher and let's get started!
Let's talk milk (or alternatives)
So what type of milk should you use for your latte? We went and purchased multiple kinds of milk to try out. We evaluated them by testing the foam and the taste.
Cow's milk
We tested two kinds of milk, whole and skimmed milk. We find that cow's milk is the easiest milk to foam. The consistency is the best in the test, we were able to get smooth microfoam from both kinds of milk. When it comes to lattes, we always recommend using whole milk. It has just the right balance of fats and sugar. It didn't overpower the coffee and blended well. Skimmed milk was also good but lacked the rich mouthfeel.
If you come from a different part of the world, different brands of milk could taste different. We have collective milk processing factories so it tastes uniform. It might be a test you could try.
Oat Milk
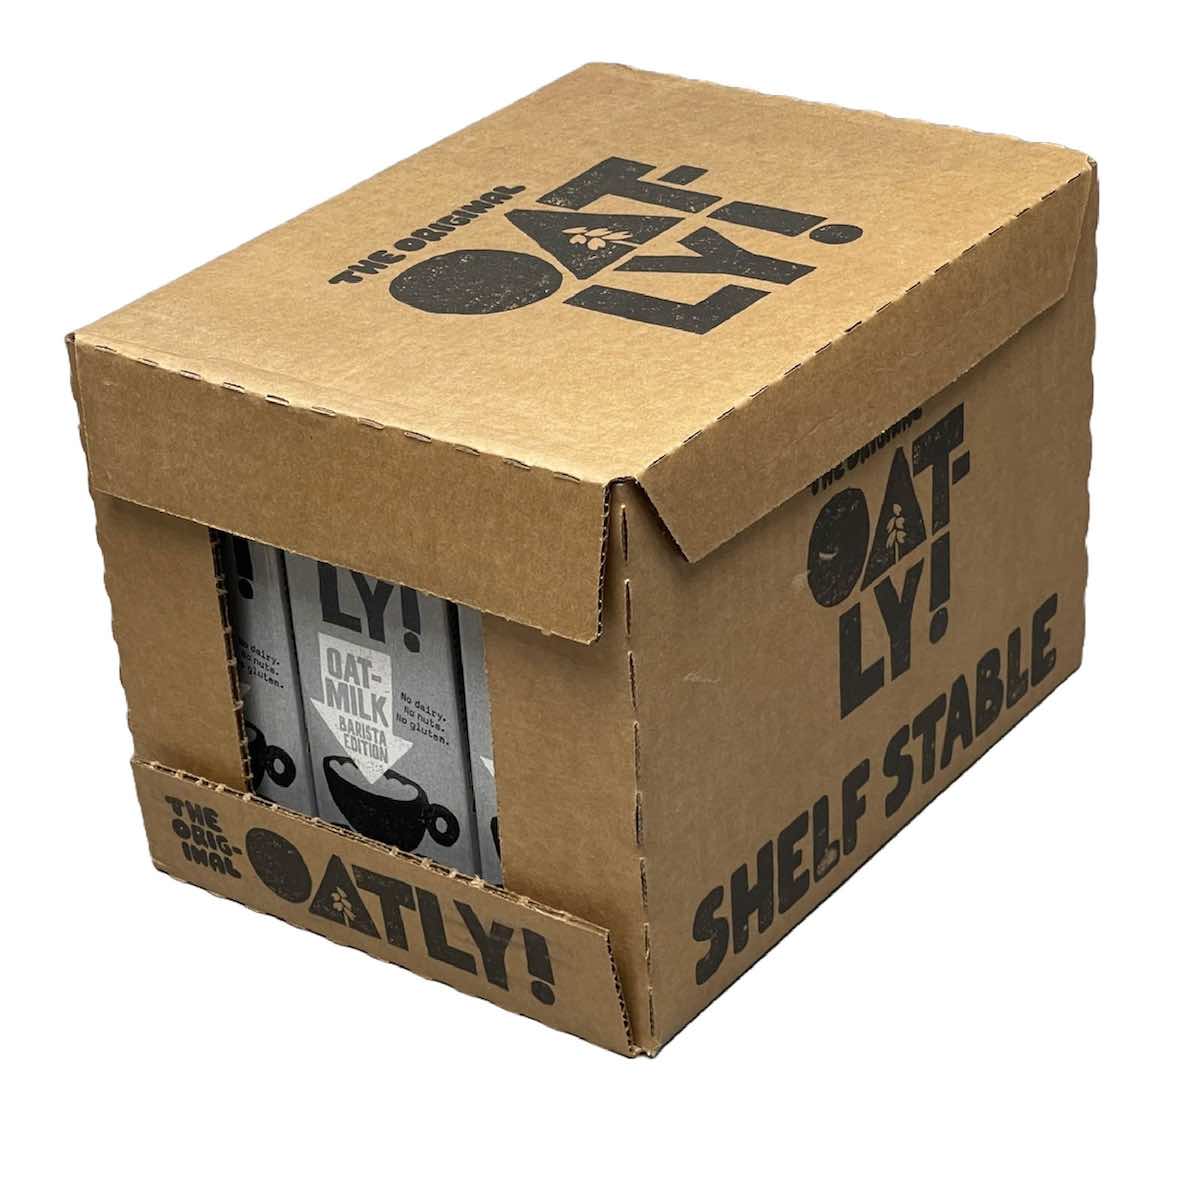
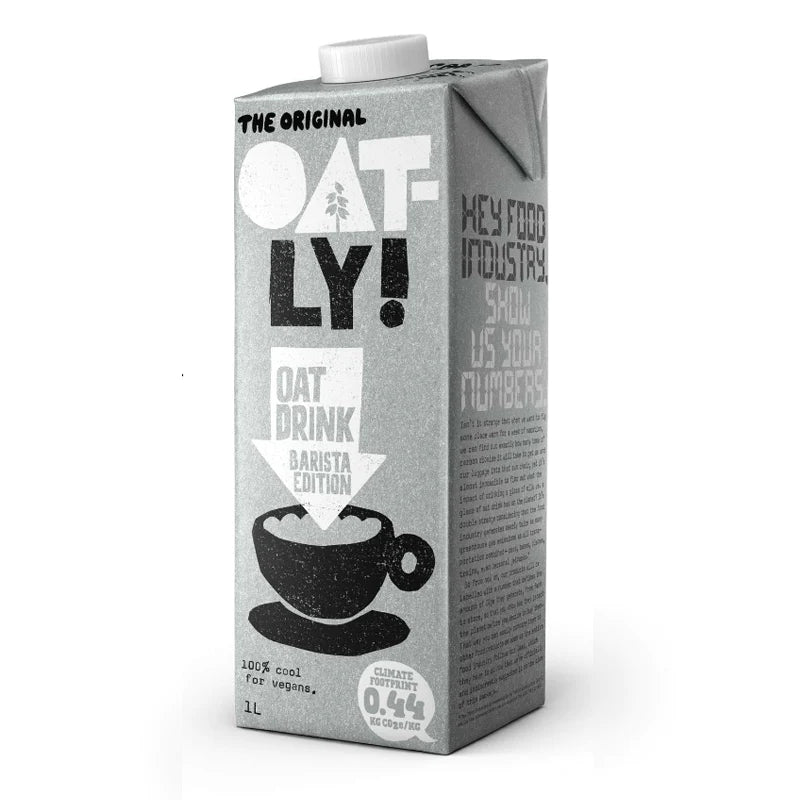
Oats milk was our favorite vegetal milk. We tried Oatly, Minor Figures, Eath's Own Barista, and Mylk (it's a blend). Our favorite by far was Oatly, it's a bit hard to find here but well worth the search. While the foam is not as easy to make as whole milk, it's very close. We were able to make great latte art! Like Mylk and Earth's Own, it tastes very pretty balanced and compliments the coffee well. The only one we didn't appreciate was Minor Figures, it was a bit acidic and unpleasant. Mylk, Earth's Own and Minor Figures weren't as easy to foam but still better than Almond or Soy.
Almond Milk & Soy Milk
Depending on your taste preferences, both those almond and soy milk are good in coffee. They can both froth up very well although it's more difficult to get the right texture and consistency. There were more bubbles and the foam separated faster. They are worth the try if you like them. One thing to look out for when buying is that you get a barista blend. Otherwise, it might not foam up.
Not so-notable mentions
Here are a couple of kinds of milk we have tried that you probably shouldn't. The first one is pistachio. The acidity, texture, and taste when heated are horrendous. Please just don't.
Some of the other kinds of milk we tested weren't as bad. We are talking about cashew, coconut, and hemp. The main reason they don't work well is the foam that they produce. It's very thin and if you manage to get good foam, it dissipates or separates instantaneously.

What you will need
There are multiple ways to froth milk. If you have an espresso machine then you will only need a milk pitcher and some milk. If you don't have one, there are still other ways you can get great quality milk. One technique we will get into is with a french press and the other is with a spinning milk frother. Either way, you will also need a milk pitcher if you want to pour latte art.
Temperature
The next thing you want to consider is the milk's temperature. If you use your espresso machine the milk should be cold when you start steaming it. When cold, you will get more time to incorporate the air into the milk. When heating the milk, the proteins break up and attach to the air forming a foam. If you heat the milk too much, the protein will break down and lose efficiency. The foam won't hold itself and separate if the pitcher. The ideal temperature for steamed milk is between 55˚ and 65˚ C.
Does steamed milk taste different?
Yes, it does. When you steam milk, the lactose breaks down into simpler sugars[1] This gives the milk a sweeter taste. The Maillard reaction is a chemical reaction between amino acids and reducing sugars that gives its distinctive flavor. This reaction can also cause the milk to develop an unpleasant taste. You have to be careful not to overheat because you can burn milk when steaming. A moderate MR can bring delicate flavors to food, but the MR is too obvious to bring bitter and scorched tastes to food.[2]

Technique
How to foam milk with an espresso machine
Before steaming, we need to know what are the 2 stages of getting the perfect milk. The first stage is stretching the milk by incorporating air into the liquid. The second stage is heating the milk.
Now that we know what we need to do, you need to have a steam wand and a milk pitcher. The first thing you want to do is purge the steam wand. To do this, point the wand away from you and open up the steam valve. You will see and hear the water hissing as it comes out of the wand. Keep the valve open until no more water is coming out and only steam is left.
Steam wand positioning
Now that the wand is purged, you can start steaming your milk. Put the milk pitcher under the wand and make sure the tip of the wand is just below the surface of the milk. We suggest the steam wand along the beak of the pitcher for stability.
The tip of the steam wand should be 1/3 of the way to one side and about halfway in the pitcher. Open up the steam valve. You should hear the air being pulled in making a paper tearing noise. At this point, the milk should be spiraling around the pitcher and you should see the milk start to rise and become fluffy.
Once the milk has the texture of thick paint, you can start to bring the pitcher up. As you do this, the milk will start to form a vortex. The vortex is important to ensure that all the milk has the same consistency. Keep the pitcher at an angle and keep the wand in the same spot. Your milk should have the perfect texture for a latte. Close the valve when the bottom of the pitcher is too hot to the touch. You should clean your steam wand after every use!
Depending on the machine you have at home, the entire process should only take around 10-30 seconds.
The spinning wand technique
The wand technique is very similar to the espresso machine technique. The difference is that you need to heat the milk before frothing it. To heat the milk, you can either use a stovetop or the microwave.
Once the milk is heated, put the milk in the pitcher and insert the wand close to the surface. It should be positioned 1/3 of the way to one side and about halfway in the pitcher. Turn on the wand. At this point, the milk should be spiraling around the pitcher and you should see the milk start to rise. Once it reaches the desired consistency, put it in a milk pitcher and pour some latte art!
The french press technique
If you don't have a machine, you can froth milk by hand with a french. Like the wand method, you will need to heat the milk before.
Pour the milk into the french press then place the plunger on top of the french press. Pump the handle up and down. As you do this, you will see the milk start to rise and form a foam. Once it reaches the desired consistency, put it in a milk pitcher and pour some latte art!

Tips & Tricks
Why is my milk not frothing?
If you find that your milk isn't frothing well, there are a few things you can try:
-
Use cold milk: This will help the proteins bind to the air
-
Incorporate more air by keeping the nozzle closer to the surface of the milk
Why is my steamed milk watery?
Your milk might be watery if:
-
You used milk that was too warm
-
The wand wasn't close enough to the surface of the milk
-
You didn't froth the milk long enough
-
It could also be that you heated the milk too hot and the foam separated
How many times can you steam milk?
It's very important that you only use steamed milk once. If there are leftovers, you have to discard the milk.
Adding sugar to milk before frothing
If you want a sweeter coffee, you can add any syrup or sugar to the milk before frothing. This will help the syrup to mix evenly throughout the milk.
Citations
Stojanovska, Suzana & Gruevska, Nevena & Tomovska, Julijana & Tasevska, Jasmina & Krstanovski, Aleksandar & Menkovska, Mirjana. (2017). Maillard Reaction and Lactose Structural Changes during Milk Processing. Chemistry Research Journal. 2. 139-145. Retrieved October 1, 2022, from https://www.researchgate.net/publication/322529853_Maillard_Reaction_and_Lactose_Structural_Changes_during_Milk_Processing
Xiang,J.;Liu,F.;Wang,B.; Chen, L.; Liu, W.; Tan, S. A Literature Review on Maillard Reaction Based on Milk Proteins and Carbohydrates in Food and Pharmaceutical Products: Advantages, Disadvantages, and Avoidance Strategies. Foods 2021, 10, 1998. Retrieved September 26, 2022, from https://pubmed.ncbi.nlm.nih.gov/34574107/


Comments
There are no comments.
Your comment